The Obd2 Evap system plays a crucial role in maintaining a vehicle’s emissions compliance and overall performance. This guide delves into the intricacies of the EVAP system, how to perform an OBD2 EVAP test, and essential maintenance practices.
Understanding the EVAP System and its Importance
The Evaporative Emission Control (EVAP) system prevents fuel vapors from escaping into the atmosphere. It captures these vapors, stores them in a charcoal canister, and then releases them into the engine for combustion. This process reduces harmful emissions and improves fuel efficiency. A malfunctioning EVAP system can lead to increased emissions, poor fuel economy, and even engine performance issues. This is where OBD2 EVAP testing comes into play.
OBD2 EVAP Testing: Key Features and Functionality
OBD2 scanners are indispensable tools for diagnosing EVAP system problems. They provide real-time data, bi-directional control, and advanced diagnostic functions specifically for the EVAP system.
Essential Features for EVAP Diagnosis:
- Bi-Directional Control: Enables the scanner to command EVAP components, like opening and closing valves, for testing purposes.
- Real-Time Data Monitoring: Provides live data on fuel tank pressure, vapor flow, and other crucial parameters.
- Advanced Diagnostic Functions: Performs specialized tests that simulate operating conditions to pinpoint issues.
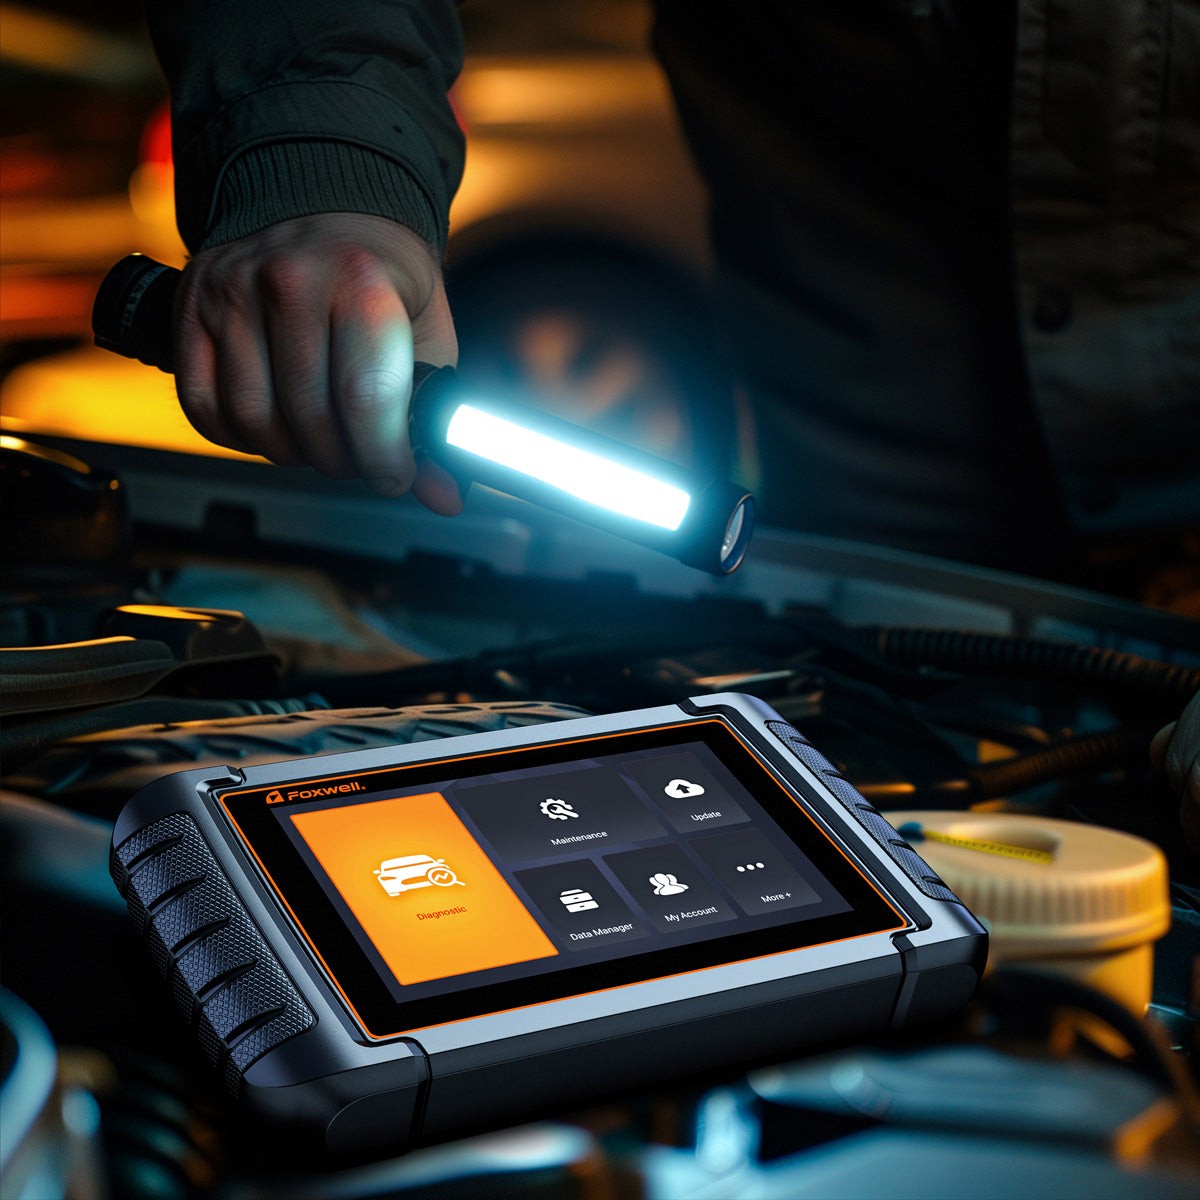
Advanced Scanner Models (Foxwell NT530 and NT650 Elite):
- Foxwell NT530: Offers comprehensive manufacturer-specific diagnostics and actuation tests for precise EVAP diagnosis.
- Foxwell NT650 Elite: Includes specialized service functions, such as automated EVAP system self-tests, for comprehensive vehicle maintenance.
Performing an OBD2 EVAP Test: A Step-by-Step Guide
Conducting an OBD2 EVAP test is straightforward with the right tools and knowledge.
Preparation:
- Vehicle: Park on level ground, engine off, fuel tank between 1/4 and 3/4 full, engine cool.
- Scanner: Ensure it’s charged and running the latest software.
Test Procedure:
- Connection: Connect the scanner to the OBD2 port (usually under the dashboard).
- Initialization: Turn the ignition to “On” (engine off), select the vehicle make and model on the scanner.
- Test Initiation: Navigate to the EVAP test within the scanner’s diagnostic menu and follow the prompts. Confirm fuel level and engine off time.
- Monitoring: Observe real-time data on the scanner for pressure drops indicating leaks.
- Analysis: Review Diagnostic Trouble Codes (DTCs) and utilize the scanner’s code definitions for interpretation.
- Post-Test: Repair or replace faulty components, clear codes, and retest to verify the fix.
Maintaining Your Vehicle’s EVAP System for Optimal Performance
Regular maintenance prevents common EVAP issues and extends the system’s lifespan.
Routine Checks:
- Gas Cap: Regularly check for tightness and damage.
- Hoses and Connections: Visually inspect for wear, cracks, or loose connections. Consider an annual smoke test by a professional.
- Charcoal Canister: Monitor for contamination and adhere to manufacturer replacement guidelines.
Best Practices:
- Adhere to Scheduled Maintenance: Follow the manufacturer’s recommended service intervals.
- Professional Inspections: Schedule regular EVAP system checks, especially in hot climates.
- Avoid Overfilling: Stop fueling when the nozzle clicks off.
- Understand Your Vehicle: Familiarize yourself with the EVAP system components in your owner’s manual.
- Prompt Repairs: Address EVAP issues immediately to prevent further damage.
Conclusion
A properly functioning EVAP system is essential for environmental responsibility and vehicle performance. By understanding the system, utilizing OBD2 EVAP testing, and implementing preventative maintenance, you can ensure your vehicle remains compliant and runs efficiently. Investing in a quality OBD2 scanner empowers you to take control of your vehicle’s health and contribute to a cleaner environment.