Understanding how to use an OBD2 scanner to erase codes is crucial for maintaining your vehicle’s health and diagnosing potential problems. When your “Check Engine” light illuminates, it signifies that the onboard diagnostic system (OBD-II) has detected an issue. An OBD2 scanner allows you to read, interpret, and erase these trouble codes. This guide provides a step-by-step approach to understanding and utilizing the “Obd2 Scanner Erase Codes” function.
Understanding OBD2 Codes and Their Significance
OBD2, or Onboard Diagnostics II, is a standardized system in vehicles for self-diagnosis and reporting. When a problem occurs, the system stores a specific code, triggering the Check Engine light. These codes are categorized as generic (P0 prefix) or manufacturer-specific (P1 prefix). Various issues, from a loose gas cap to a malfunctioning catalytic converter, can trigger these codes.
Why You Should Erase OBD2 Codes
Erasing OBD2 codes with a scanner offers several benefits:
Vehicle Health and Performance
Clearing codes after resolving an issue resets the system, allowing the vehicle to recalculate correctly. This can improve engine efficiency, power output, and responsiveness. Additionally, it helps prevent long-term damage to components and enhances fuel efficiency.
Diagnostics and Troubleshooting
Erasing codes provides a clean slate for diagnosing intermittent problems. If the code reappears, it indicates a persistent issue requiring further attention. This process aids in identifying the root cause and ensures accurate repairs.
Passing Emissions Tests and Peace of Mind
A glowing Check Engine light, often due to stored codes, can lead to failing an emissions test. Erasing codes after repairs ensures a clean bill of health. Moreover, it eliminates unnecessary warnings and provides peace of mind, reducing driver stress.
How to Erase Codes with an OBD2 Scanner
Choosing the Right Scanner
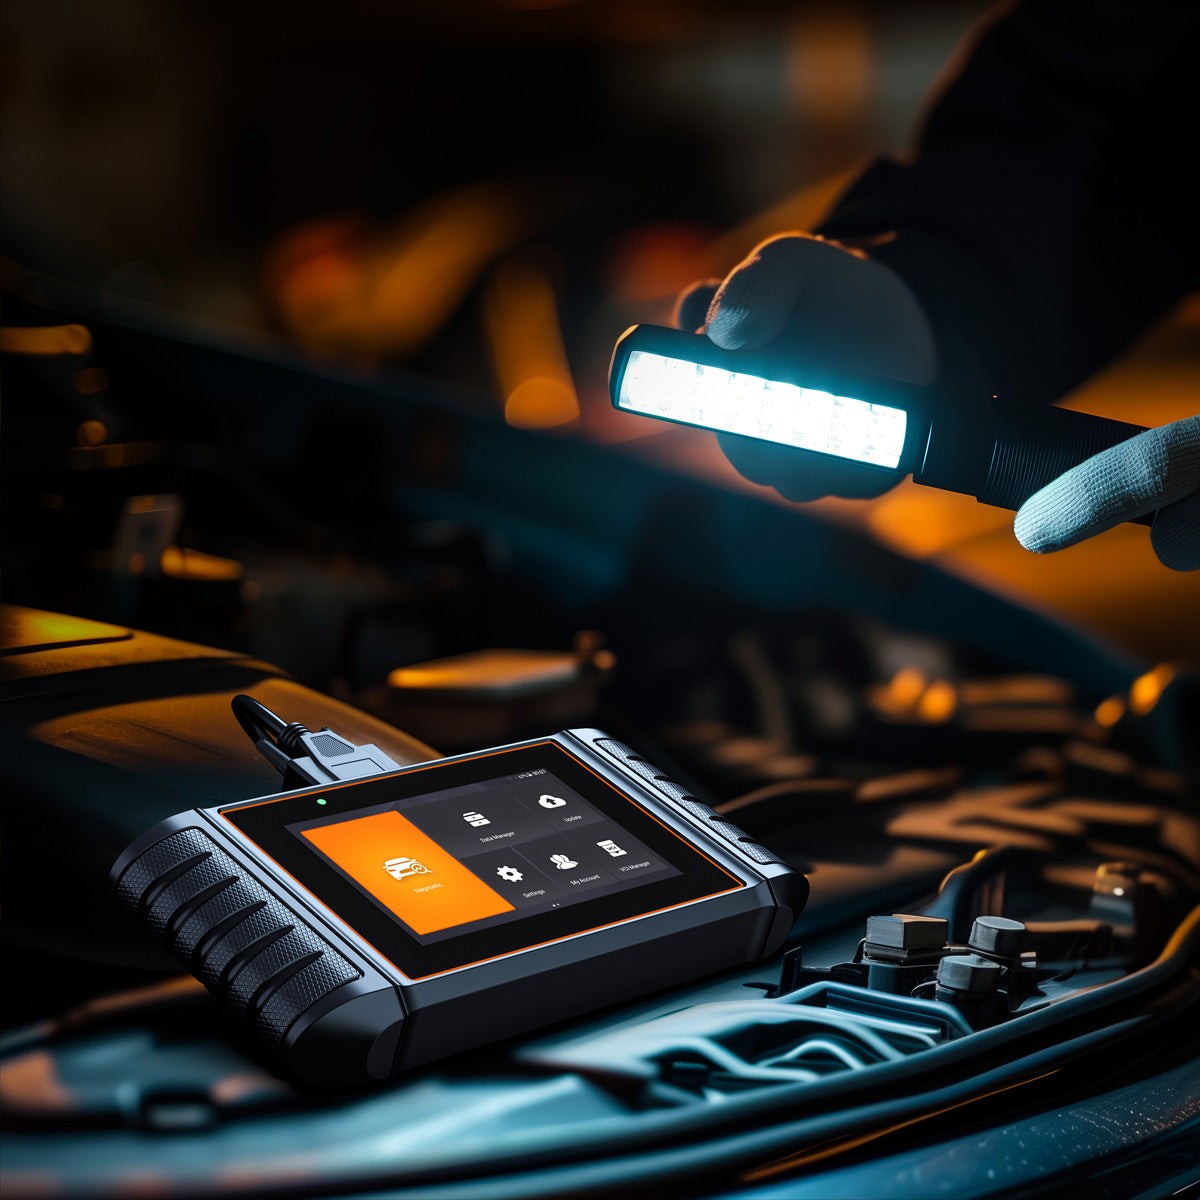
Selecting the appropriate OBD2 scanner depends on your needs. Basic scanners offer code reading and erasing functionality, while advanced models provide live data and compatibility with multiple vehicle makes. Foxwell scanners are known for their balance of user-friendliness and functionality.
Connecting and Using the Scanner
-
Locate the OBD2 Port: The OBD2 port is typically located under the dashboard, near the driver’s side.
-
Connect the Scanner: Plug your Foxwell scanner into the OBD2 port.
-
Turn on the Ignition: Turn the ignition key to the “on” position without starting the engine. This allows the scanner to power up and communicate with the vehicle’s computer.
-
Navigate the Menu: Using the arrow keys on the scanner, navigate to the “Diagnostic” or “Read Codes” menu. Select your vehicle’s make and model for accurate diagnosis.
-
Read and Erase Codes: The scanner will display a list of stored codes. Review the codes and then select the option to “Erase” or “Clear” codes. Confirm the action when prompted.
Troubleshooting and Best Practices
Codes Reappear: If codes reappear after erasing, it signals an unresolved issue. Re-scan and investigate the persistent problem.
Common Mistakes: Avoid common errors like not addressing the root cause, using an incompatible scanner, or disregarding manufacturer-specific codes.
Professional Help: Consult a professional mechanic for complex issues, critical system problems, or when lacking the necessary tools and expertise.
Conclusion
Mastering the use of an OBD2 scanner to erase codes empowers vehicle owners to maintain their cars effectively. This knowledge enables early problem detection, optimizes performance, ensures passing emissions tests, and provides peace of mind. Regularly diagnosing and clearing codes contributes to vehicle longevity and a more enjoyable driving experience. Remember to address the underlying issue causing the code before erasing it for a lasting solution. Always consult a professional if you encounter complex problems or are unsure about performing the procedure yourself.