Clearing error codes on your Chevy Volt can be a daunting task, especially with the complexity of hybrid systems. This guide provides a step-by-step approach using a Panlong OBD2 device, specifically the VXDIAG VCX Nano, and the GDS2 software to clear troublesome DTCs like PFE00 and P0AFA that might be preventing your Volt from charging.
While there are various methods and tools available, using a dedicated laptop with Windows 10 Pro and the appropriate software ensures a smoother process. This guide outlines the essential steps, software versions, and potential troubleshooting tips to help you get your Volt back on the road.
Setting Up Your Panlong OBD2 Device for Success
Before diving into clearing error codes, proper setup is crucial. This involves installing the necessary software and ensuring your Panlong OBD2 device, the VXDIAG VCX Nano, is correctly configured.
- Laptop and Software: Use a dedicated laptop with Windows 10 Pro. Install VX Manager 1.8.8 and GDS2. Download links can be found on the VXDIAG website. Using the standalone GDS2 installer directory from the Mega download link is recommended.
- Disable Security Software: Temporarily disable Windows virus scanning and Windows Defender to prevent interference during installation and operation.
- Check DNS Settings: If VX Manager doesn’t show “Online,” adjust your DNS settings to 8.8.8.8 in your adapter’s IPv4 configuration. This resolves potential issues with DNS servers blocking vxdiag.net.
- Connect to Car and Update: Connect the VCX Nano to your Volt’s OBD2 port and your laptop’s USB port. Ensure the device is “Online” in VX Manager. Update the Nano’s firmware and license using the buttons within VX Manager.
Note: While an internet connection is required for setup and updates, you don’t need to be online to use GDS2 for diagnostics after the initial configuration.
Clearing Error Codes in GDS2: A Step-by-Step Procedure
Once your Panlong OBD2 device and software are ready, follow these steps to clear the error codes:
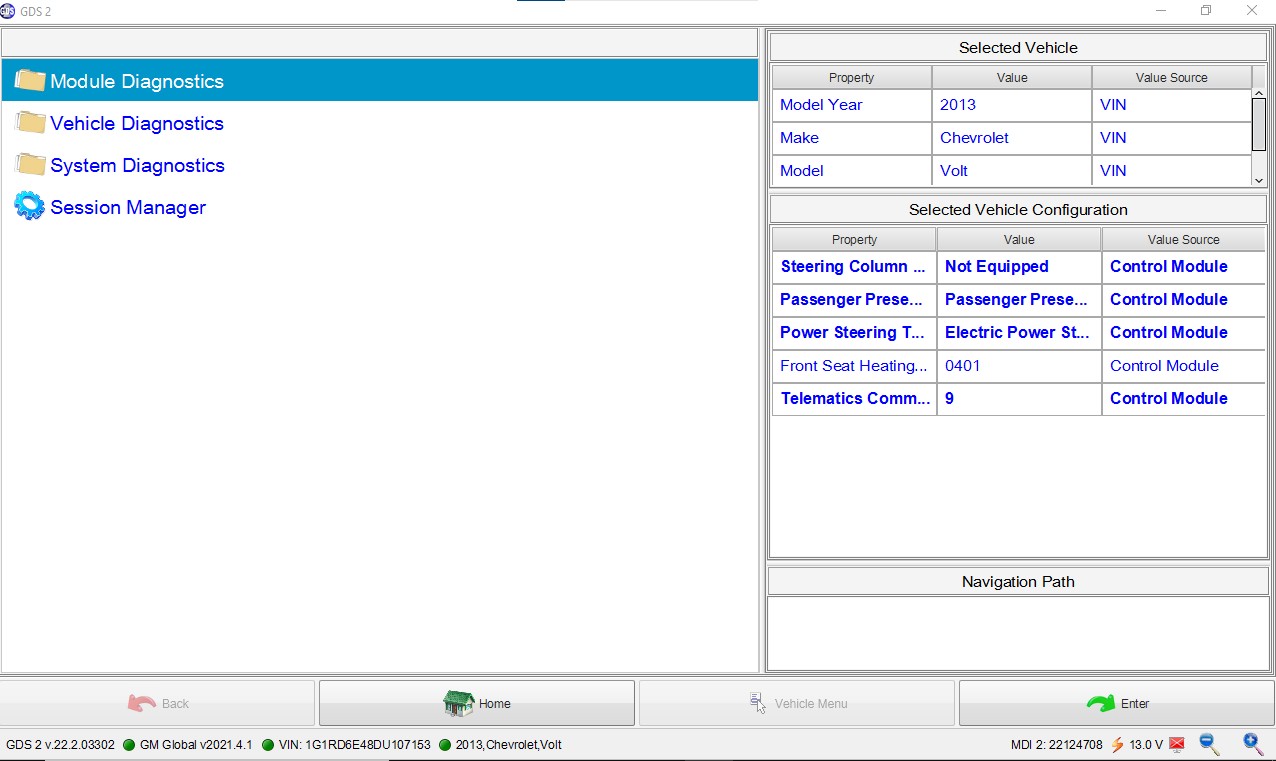
- Access Module Diagnostics: In the GDS2 main menu, select “Module Diagnostics.”
- Select HVCM2: Choose “Hybrid/EV Powertrain Control Module 2.”
- Clear Secured High Voltage DTCs: Navigate to “Control Functions” and then click on “Clear Secured High Voltage DTCs.”
- Reset DTCs: Go to the “DTCs Display” tab. Select the P0AFA DTC (or any other relevant DTC) and click “Reset.” Ensure the text above the button confirms “reset” before exiting.
-
Clear DTCs in Display DTC’s Menu: Return to the “Hybrid/EV Powertrain Control Module 2” menu and select “Display DTC’s.” Click the “Clear DTC” button, select the DTC, and confirm. This might involve adding the DTC to a list at the bottom of the page. Click “Ok” twice.
-
Verify and Charge: After clearing the codes, check for any remaining DTCs. If none are present, your Volt should start charging. Monitor the charging process and cell voltages to ensure the issue is resolved.
Conclusion
Using a Panlong OBD2 device and GDS2 software provides a comprehensive solution for clearing error codes on your Chevy Volt. By following this guide, you can effectively diagnose and resolve issues hindering your vehicle’s performance, particularly those related to charging. Remember to always double-check your work and consult additional resources if necessary. This process, coupled with the right tools, empowers Volt owners to take control of their vehicle’s maintenance and keep it running smoothly.