Connecting an OBD2 scanner to your car can seem intimidating, but it’s a straightforward process that can empower you to understand and address your vehicle’s issues. This guide provides a step-by-step walkthrough on How To Use The Obd2 Scanner effectively.
A mechanic using an OBD2 scanner to diagnose a car problem.
Locating and Connecting the OBD2 Port
The OBD2 port, a 16-pin trapezoid-shaped connector, is typically located under the driver’s side dashboard. In some cases, it might be hidden in the center console or under the passenger side. Once located, connecting the OBD2 scanner is simple: align the scanner’s connector with the port and firmly push them together.
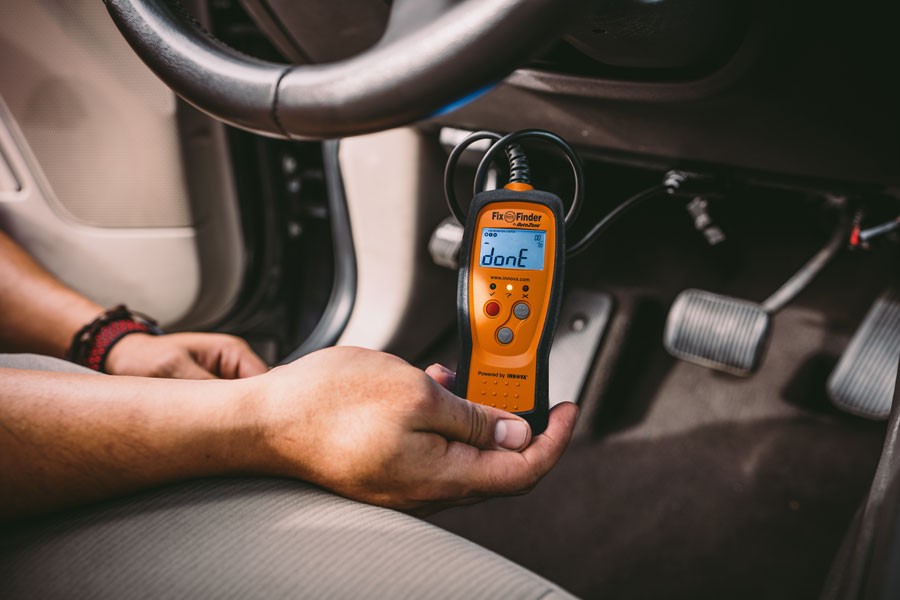
An OBD2 scanner displaying diagnostic trouble codes.
Powering Up the OBD2 Scanner
Before turning on the ignition, connect the scan tool to the diagnostic port. Then, turn the ignition to the “on” position without starting the engine. This will power up the scanner in most cases. Allow the device to complete its boot sequence. You might be prompted to input information like engine size or VIN.
Navigating the OBD2 Scanner Menu
After the scanner boots up, you’ll see a menu with various options. Common options include:
- Read Codes: Displays Diagnostic Trouble Codes (DTCs) indicating potential issues.
- Erase Codes: Clears stored DTCs after repairs.
- Live Data: Provides real-time sensor readings. This helps identify faulty sensors or out-of-range values.
- Freeze Frame: Shows vehicle parameters at the moment a DTC was triggered. This snapshot can offer valuable clues for diagnosis.
- Vehicle Info: Displays vehicle-specific data.
- I/M Readiness: Indicates emissions system readiness for smog tests.
Understanding Diagnostic Trouble Codes (DTCs)
DTCs are alphanumeric codes (e.g., P0301) that pinpoint specific problems. The first letter signifies the system:
- P: Powertrain (engine, transmission, emissions)
- B: Body (airbags, interior systems)
- C: Chassis (suspension, steering)
- U: Network communication
The following numbers provide further details. The first number after the letter is a 0 for generic codes or a 1 for manufacturer-specific codes. Subsequent digits identify the affected subsystem and the specific fault. For example, P0301 indicates a generic powertrain code for a cylinder 1 misfire. Refer to a reliable DTC database for detailed descriptions.
Using the OBD2 Scanner for Cost Savings
An OBD2 scanner can help you save money on car repairs in several ways:
- Early Problem Detection: Identifying issues early can prevent them from becoming more serious and costly.
- Smog Test Readiness: Checking I/M Readiness ensures your vehicle is likely to pass emissions testing.
- DIY Repairs: For simpler repairs, the scanner can guide you to the faulty component, allowing you to fix it yourself. For instance, a P0138 code points to a faulty oxygen sensor, a relatively easy part to replace.
Conclusion
Mastering the use of an OBD2 scanner empowers you to take control of your vehicle’s maintenance and repairs. By understanding how to connect the scanner, navigate its menu, and interpret DTCs, you can diagnose problems, save money, and keep your car running smoothly. Remember to consult a repair manual or seek professional help for complex issues.