Locating and connecting your OBD2 scanner is the first step in diagnosing car problems. This guide will show you exactly where to plug in your OBD2 scanner, how to connect it, and what to expect.
Finding the OBD2 Port Location
The OBD2 port, also known as the diagnostic link connector (DLC), is typically located under the driver’s side dashboard, beneath the steering wheel. It’s a 16-pin female connector shaped like a trapezoid.
While the driver’s side dashboard is the most common location, there are exceptions. In some vehicles, you might find the OBD2 port:
- Inside the center console
- Under the passenger side of the dashboard
- Beneath the glove compartment
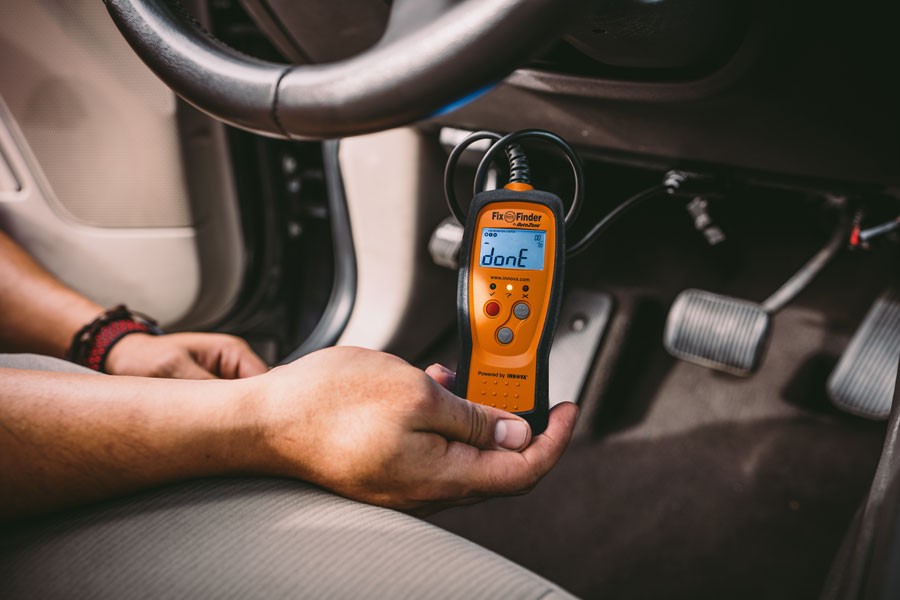
Connecting Your OBD2 Scanner: A Step-by-Step Guide
Connecting your OBD2 scanner is straightforward. The unique trapezoidal shape ensures the connector only fits one way.
-
Turn Off the Ignition: Before connecting anything, make sure your car’s ignition is completely off. This prevents potential electrical issues.
-
Locate and Connect: Find the OBD2 port and align the scanner’s connector with it. Gently but firmly push the connector in until it clicks into place. A slight wiggle might help if it doesn’t connect immediately.
-
Turn the Ignition On: Turn the ignition key to the “on” position, but don’t start the engine. This powers up the OBD2 port and your scanner.
-
Wait for the Scanner to Boot: The scanner will now initialize. This may take a few seconds. Follow any on-screen prompts, such as entering your vehicle’s VIN.
Understanding OBD2 Scanner Menus
Once your scanner is ready, you’ll see a menu on its screen. Options will vary depending on the scanner type, but common functions include:
-
Read Codes: Displays diagnostic trouble codes (DTCs), which indicate the specific problems detected in your vehicle.
-
Erase Codes: Clears DTCs from the vehicle’s computer after repairs are made.
-
Live Data: Shows real-time sensor readings, allowing you to monitor various engine parameters.
-
Freeze Frame: Provides a snapshot of sensor data at the moment a DTC was triggered.
Deciphering OBD2 Trouble Codes
DTCs are alphanumeric codes that follow a specific format: one letter followed by four numbers (e.g., P0301).
-
The letter signifies the system:
- P: Powertrain (engine, transmission, emissions)
- B: Body (airbags, interior systems)
- C: Chassis (suspension, steering)
- U: Network communication
-
The numbers pinpoint the specific issue. For instance, P0301 signifies a cylinder 1 misfire. Online resources and repair manuals can help you decipher specific codes.
Saving Money with an OBD2 Scanner
An OBD2 scanner empowers you to diagnose car problems yourself, potentially saving you money on diagnostic fees and unnecessary repairs. By understanding the codes, you can:
- Identify the root cause of Check Engine lights.
- Determine if your vehicle is ready for emissions testing.
- Perform simple repairs yourself, such as replacing an oxygen sensor.
Conclusion
Knowing where to plug your OBD2 scanner is essential for any car owner. This guide has provided a comprehensive overview of the process, from locating the port to understanding the codes. With an OBD2 scanner, you’re equipped to take control of your car’s maintenance and save money on repairs.