Mercedes-Benz vehicles are renowned for their sophisticated engineering. Keeping these vehicles running smoothly requires equally sophisticated diagnostic tools. This guide focuses on the Xentry Latest Version, providing a detailed walkthrough of its installation process, key features, and troubleshooting tips.
What is Xentry Diagnostic Software?
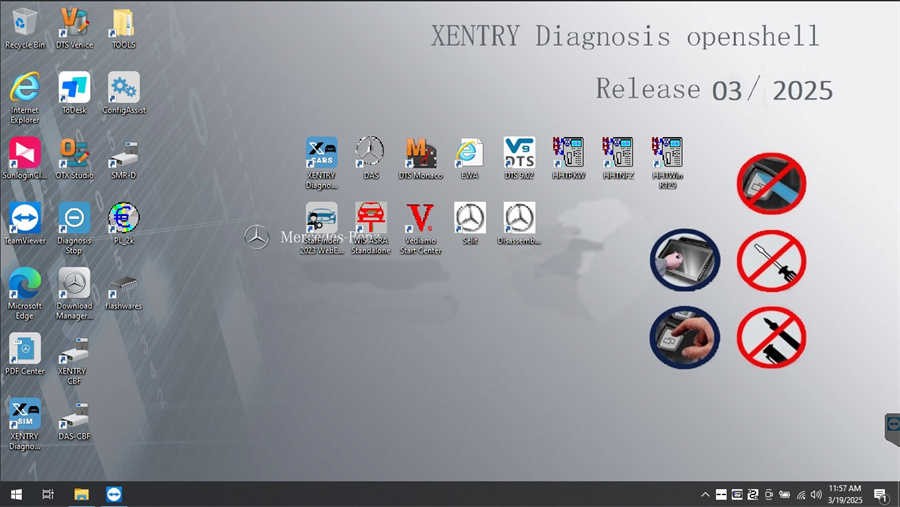
Xentry is the official diagnostic software developed by Mercedes-Benz for diagnosing and troubleshooting issues in their vehicles. The Xentry latest version provides comprehensive support for models up to 2024 and select 2025 models. It offers a wide range of functionalities, including:
- Reading and Clearing Fault Codes: Identify and erase diagnostic trouble codes (DTCs) from various vehicle systems.
- Actuator Tests: Control and test individual components like injectors, solenoids, and motors.
- System Diagnostics: Perform comprehensive scans of all vehicle systems to pinpoint malfunctions.
- Repair Plans and Procedures: Access detailed repair instructions and wiring diagrams.
- Programming and Coding: Perform software updates and customizations for specific modules. (Often requires specialized access and certifications.)
Installing the Xentry Latest Version: A Step-by-Step Guide
Installing the Xentry latest version can be complex. Follow these steps carefully to ensure a successful installation:
System Requirements
Before you begin, ensure your computer meets the following minimum requirements:
- Operating System: Windows 10 64-bit
- Storage: Minimum 23GB free space for files, 110GB for installation
- Processor: Intel Core i5 3rd generation (2.3 GHz or higher recommended)
- RAM: 8GB or more
- .NET Framework: Version 4.8 or later
Installation Steps
-
Disable Antivirus and Firewall: Temporarily disable your antivirus and firewall software to prevent interference with the installation process.
-
Run the Installer: Locate the Xentry installation files (often labeled “XDOS”) and run the setup as administrator. “Mount” the installation files if necessary.
-
Language and Administrator Privileges: Select your preferred language and ensure all applications are run with administrator privileges.
-
Reboot Your Computer: After the initial installation, restart your computer.
-
Disable Background Processes: After restarting, disable any Xentry-related PDF processes running in the background using Task Manager.
-
Activation (If Required): Some versions of Xentry may require activation. Follow the provided instructions to obtain and enter an activation key.
-
Verify Installation: Launch Xentry and verify its functionality.
Troubleshooting Installation Issues
If you encounter problems during installation, consider these common causes:
- Incorrect Activation Key: Double-check the accuracy of your activation key.
- Antivirus/Firewall Interference: Ensure your security software is completely disabled.
- Insufficient Disk Space: Verify you have enough free space on your hard drive.
- Previous Installations: Leftover files from older versions of Xentry can cause conflicts. Uninstall previous versions completely before installing the latest version.
Xentry Openshell and Passthru: Key Differences
The Xentry latest version often refers to either Xentry Openshell or Xentry Passthru. Here’s a breakdown of their key differences:
- Xentry Openshell: Designed for use with older Mercedes-Benz diagnostic interfaces like the SD Connect C4.
- Xentry Passthru: Compatible with J2534 PassThru devices, allowing for more flexibility in hardware choices.
Conclusion
The Xentry latest version offers powerful diagnostic capabilities essential for maintaining modern Mercedes-Benz vehicles. By following this guide, you can successfully install and utilize this software to troubleshoot and repair these complex automobiles. Remember to consult official Mercedes-Benz documentation for the most accurate and up-to-date information.